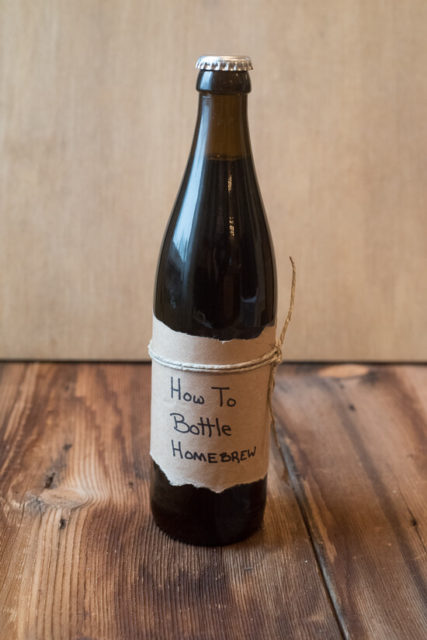
Learning how to bottle beer and cider is easy and you can accomplish it in an afternoon. With the right tools and a little technique you will be on your way to tasty homebrew!
If you found your way to this post hoping to learn how to bottle a batch of Three Kings Cider, you are on the right page.
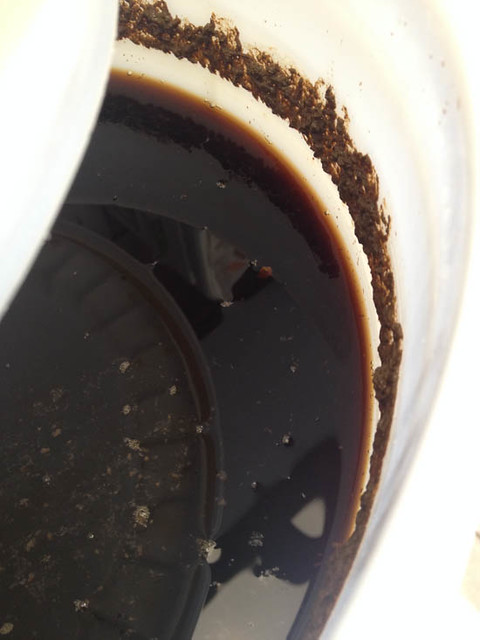
If however, your cider looks anything like the beer in this tutorial, you may have a problem… Why? Because this is a stout beer we brewed up recently and not a cider. But it will serve our purposes of showing you how to properly prepare cider or beer for bottling just fine.
Let’s get started!
To bottle your homebrew you will need:
A 5 gallon batch of cider (or beer)
Enough bottles (48-54 12 ounce bottles or 32-35 16 ounce bottles or 24-26 22 ounce bottles)
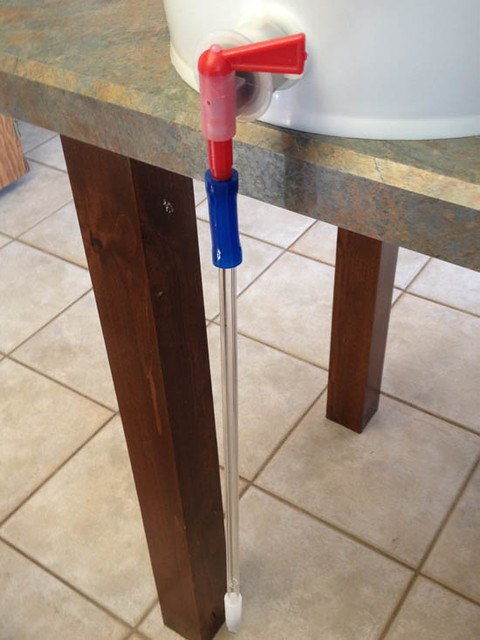
A bottling bucket with a tap installed at the bottom
A racking cane and hose or an auto siphon with hose
A bottle filler attachment
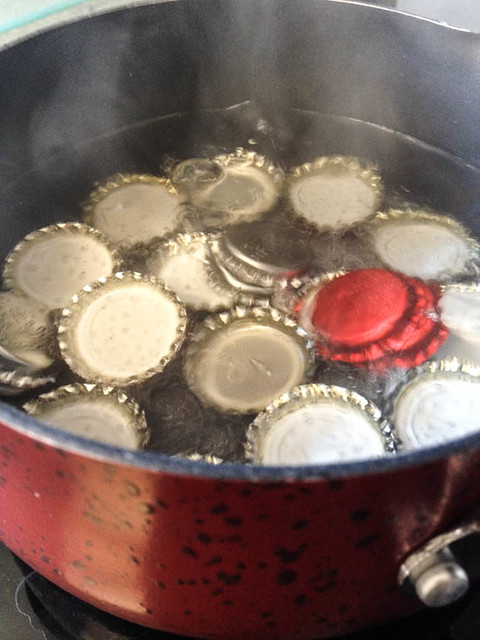
Enough sanitized or boiled bottle caps for your assortment of bottles
A bottle capper
A hydrometer (optional) and hydrometer tube if you are interested in things like ABV percentages
Brewers Wash
No Rinse Sanitizer (I use Star San)
There are of course some useful extra tools that can make your life easier.
You can buy bottle cleaning jets that attach to hoses and some sinks (you’ll likely need the sink adapter) like these:

You can also buy a bottle tree to hold your cleaned and sanitized bottles:

For bottling our 3 Kings Cider you will also need:
6.5 ounces of 100% real organic honey for bottle priming**
2 cups water
**(for most beers we use 3/4 cup (4-5 oz by weight) of corn sugar or 2/3 cup (3.8-4.8 oz by weight) of cane sugar instead of honey)
Instructions:
Boil 3 cups of water in medium pot and add honey or sugar. Stir until completely dissolved. Cool in fridge.
While this is going you can also grab a small saucepan and boil your bottle caps for one minute to sanitize them or you can just drop them in a bowl of sanitizer.
If you have been following the “How to Make Hard Cider” series, you can probably guess the most important step in bottling. Yep, CLEANING and sanitizing all of your bottling equipment, and all of your bottles.
If you are reusing bottles and you didn’t make sure to rinse them out when you set them aside, I’ll bet you will rinse every bottle you come across from now on.
It takes a bit of elbow grease to clean bottles so here are a few pointers to help you get started:
1) Get a five gallon bucket and fill it with warm water and add some brand of brewer’s wash . You will want to soak as many bottles as you can fit in the bucket at one time.
2) Take a second 5 gallon bucket or ideally an even bigger receptacle and fill it full of cold water mixed with no-rinse sanitizer. I like to use my large ice chest.
3) Work a bottle brush into each bottle, and rinse them with hot water to remove the loose crud and soap. After they are sparkling, drop them in the sanitizer.
4) When you are ready to dry the bottles, use your bottle tree or pad a box with towels and stand the bottles neck down to allow them to drip dry while they wait to be filled.

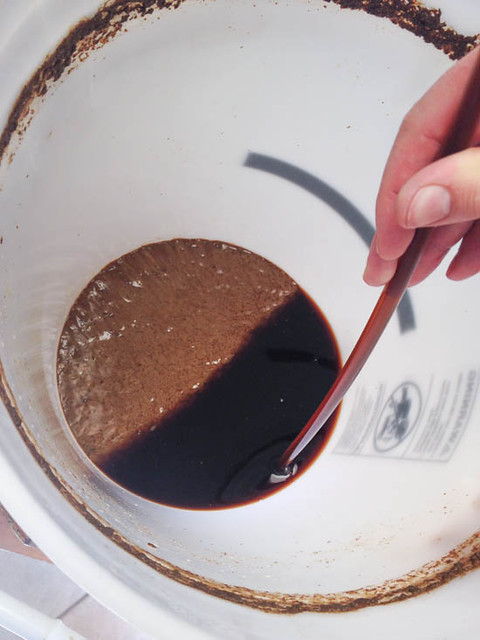
If you want to take a hydrometer reading, you will want to do this before you add your priming sugar. You do it beforehand because the addition of new sugar could throw your final gravity reading off. If you want to read more about how to use a hydrometer (and get all the math equations you need) this article How To Use A Hydrometer is a great tutorial. We use a wine thief to pull our sample (as always be sure to sanitize it first).

Remember to give the hydrometer a spin and let all those bubbles clear a bit before you take your reading. Don’t forget that the beer will creep up the hydrometer so form a straight imaginary line below that creeping up to get the accurate reading (see tutorial above for more info on this).

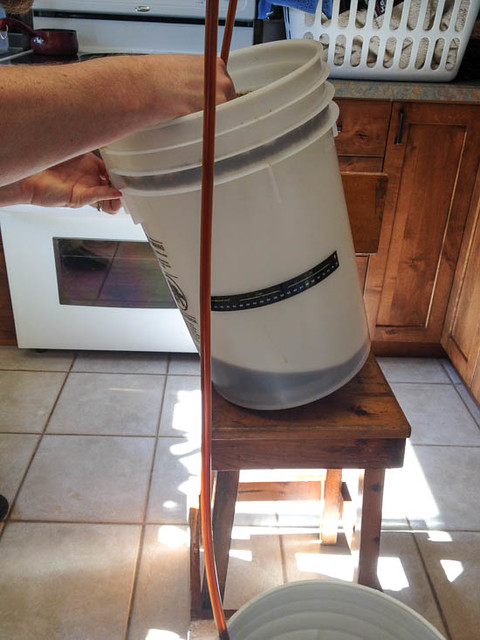
Pitch your priming solution into the bottom of your bottling bucket and siphon your cider over it to ensure it mixes well without further stirring which can expose your cider to excessive oxygen. Do not add more honey or priming sugar than called for. You will make bombs out of your bottles that will cause a very unfortunate mess at the very least. And probably it will explode in your closet or car where it is least convenient.
If you need instructions on how to siphon cider and beer or just need a refresher go to Secondary Fermentation: 3 Kings Cider for our tutorial. Remember to avoid agitating the cider too much so that it is not exposed to unnecessary oxygen. The active yeast still in solution will be able to scrub some oxygen before it leads to oxidized flavors of paper and cardboard, but its best not to push your luck.
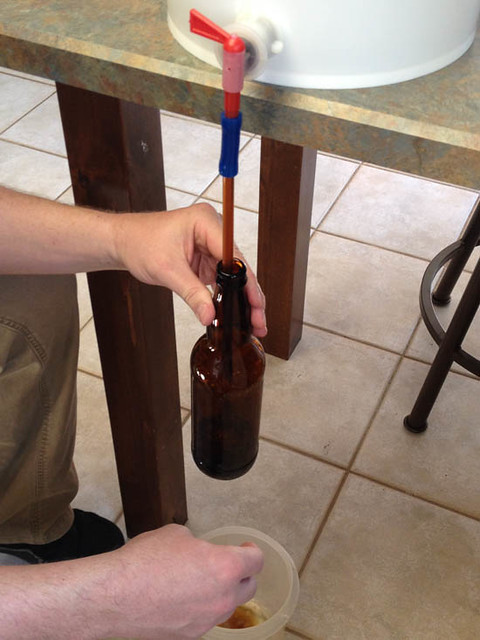
After the cider is in the bottling bucket, place the bucket with its spigot dangling over the edge of a counter top, table, or chair where you can easily fit the bottle filler to the spigot.
You will fill your bottles by sliding the filler into the bottle. There is a spring loaded tip that the inside bottom of the bottle will engage to allow beer to flow into the bottle. Fill to about half way up the neck of the bottle. It isn’t a bad idea to have a pan or something under the filler on the floor for catching drips.
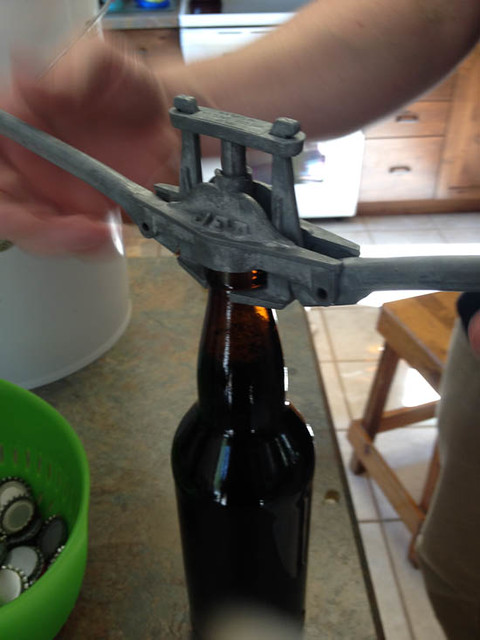
Use the bottle capper to firmly press a new cap over the opening of your filled bottle.
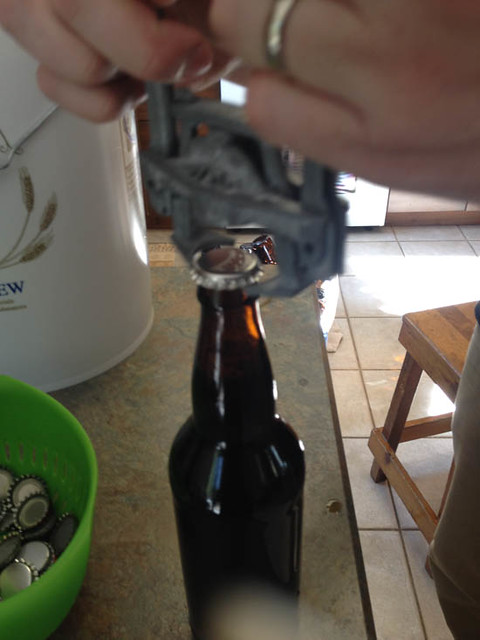
The pictures can explain how the capper works way more concisely than I can.
Make sure the cap is secure because during bottle conditioning it can pop off if it is not attached properly. Repeat the filling and capping steps at least 29 more times.

Remember your cider is a living product. Not all of the yeast will have dropped out of solution during the secondary fermentation. There will still be enough around to eat the new sugar you introduced as a primer. This activity will produce a very small amount of alcohol and carbon dioxide. The carbon dioxide will not be able to escape and so it will become solubilized, producing carbonation.
Bottle conditioning takes 8 to 16 days. The longer you can leave your young cider alone though, the better. Inevitably you will crack the first one right away, but time will improve both flavors and carbonation. Your cider will most likely be at its best around 6 months to a year. Condition your bottles in a cool, dark place. After conditioning, keep the bottles you can’t store in a refrigerator, right where they are at, in a cool, dark place.
Cheers!
Did you miss part of the series? No worries we’ve got you covered:
What Is Fermentation
How To Make Hard Cider
3 Kings Cider Secondary Fermentation

Thanks for the great tutorial! But one big question for a newbie: How to know WHEN it is time to bottle?
can i use some cider instead of water to dilute the honey for the bottling
Sure you could do that.
I am really glad to glance at this weblog posts which includes lots of useful information, thanks for providing
these kinds of data.
For bottling our 3 Kings Cider you will also need:
6.5 ounces of 100% real organic honey for bottle priming**
2 cups water
**(for most beers we use 3/4 cup (4-5 oz by weight) of corn sugar or 2/3 cup (3.8-4.8 oz by weight) of cane sugar instead of honey)
Instructions:
Boil 3 cups of water in medium pot and add honey or sugar. Stir until completely dissolved. Cool in fridge.
Question is: Is it 2 cups of water mixed with the Honey or is it 3 cups of water????
Hey Frank!
Sorry that is confusing. I asked my husband and he said that either one will be just fine but that he would start with 3 cups and you’ll end up with less after it cooks for a bit.
Thanks!
Dani