I am excited today to share with you my tutorial on how to make your own DIY Ego Food Photography Lights!
After spending a few years drooling over the EGO Food Photography Lights that many food photographers use I decided that I could probably make something pretty comparable without too much effort. My hope was that I could make them for at least half the price of what I would have spent. Turns out I was able to make them for just a few dollars more than 1/4 of the price! That is worth a bit of elbow grease in my opinion!
A bit of research turned up several tutorials on DIY versions including this one from Mawoca that was my primary source of inspiration. I really liked his tutorial but had a few modifications that I wanted to make.
The primary change I have made is that instead of using a cross stitch guide with a paper filter I really wanted to find something that was plastic and would hold up long term. My initial thought was to use a plastic flexible cutting board….but they unfortunately were not large enough to make the size of light that I wanted. So after hours of searching through Amazon I finally stumbled upon this:

Basically it’s a giant plastic cutting board with a fancy name called an “inlay mat” that normally is used for making these shelves more usable. Cool right? Even better though….it’s right around $10 for a piece big enough for two lights!
So after finding this I finally bit the bullet and ordered all the other items needed to build them.
Here’s what you will need to make 2 lights:
Tools List:
Utility Knife
Large Square
Cutting Board
Scissors
Pen
Butter Knife
Materials List:
3 White Poster Boards – $3.21
1 Box –Medium Metal Binder Clips $1
2- Leviton 128-W Twin Light Outlet Socket Adapter White $5.76 (Bought ours at Home Depot)
2 IKEA Hemma Cord for Paper Lanterns – 15″ Long – White $19.99
1 Quantum Storage Systems 2448SM Inlay Mat for Wire Shelving Units, 24″ Width x 48″ Length x 1″ Height $10.81
Total Cost: $66.76
Total Per Lamp Cost: $33.38
Okay let’s jump in!
Start with your poster board. You will want to make two cuts, one at 10 1/2 inches and the next at 19 1/2 inches.
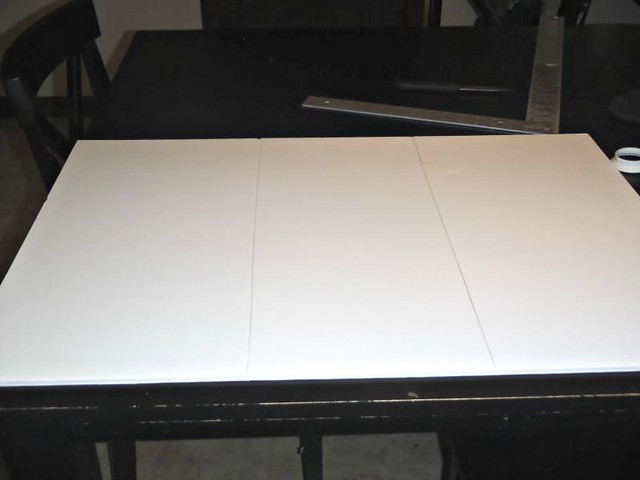
Use your square to make a straight score. You want to cut through the first layer of the board only, you are scoring it so you can bend the board….not cutting it all the way through. Then bend the boards to make sure it is scored enough, you may need to cut a bit more to make it flex cleanly.

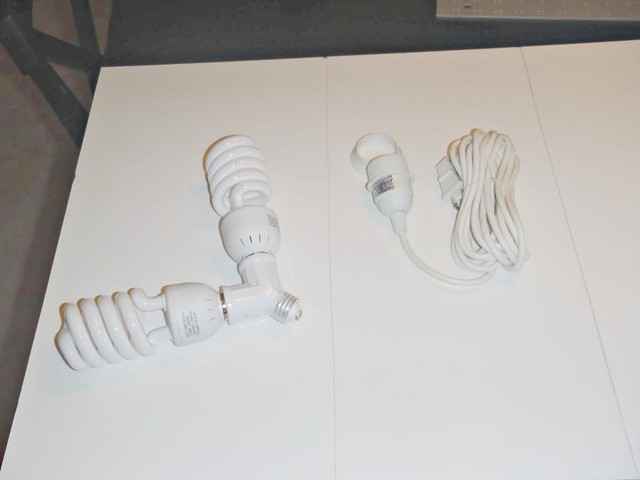
Next remove the ring from the Hemma light kit and set the light itself aside.
Note: it is easier to install the lights if you screw the splitter in first and then screw in the lights instead of pre-assembling like is shown here.
On the center section measure up 9 inches and across 4 1/2 inches, mark this point. We want to keep it high enough for the lights to be able to reflect properly but low enough to keep the light balanced so it doesn’t topple over.
Then using the ring, mark the INSIDE of the ring centering the ring over the point you marked.
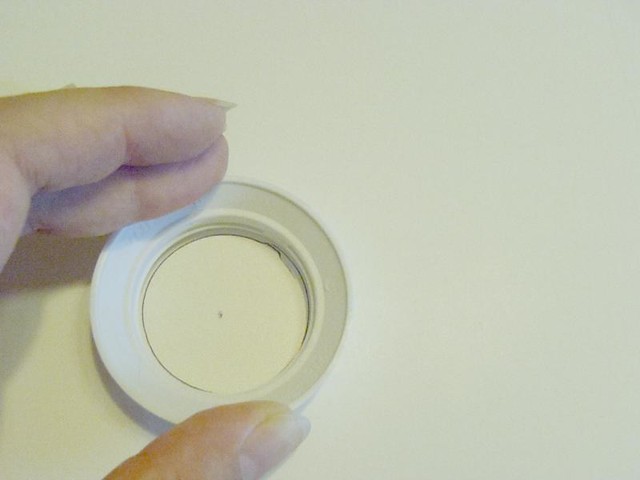
Like so:
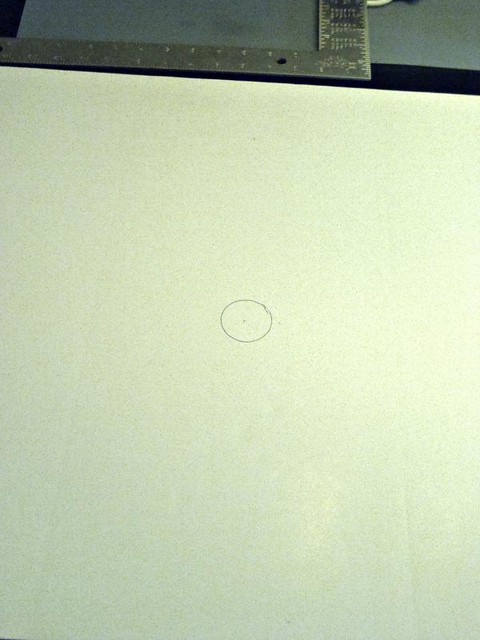
Cut out the hole and insert the Hemma light kit through the back.

If you cut it properly it will be quite snug and you will need to twist it to thread it through the board. If you cut a bit bigger it’s not that big of a deal as the ring will hold it tight.
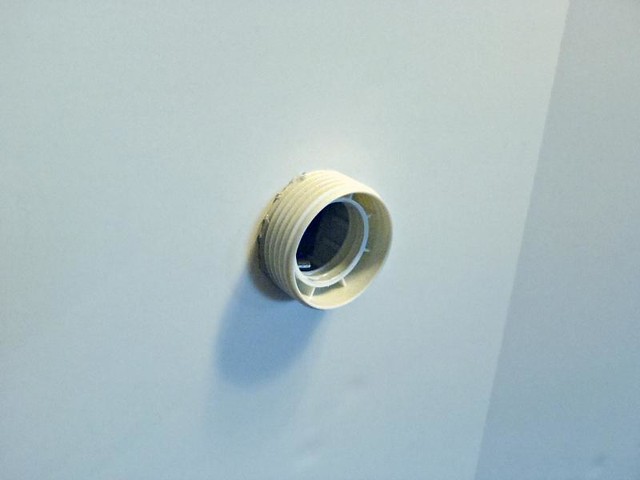 Tighten the ring down on the front side.
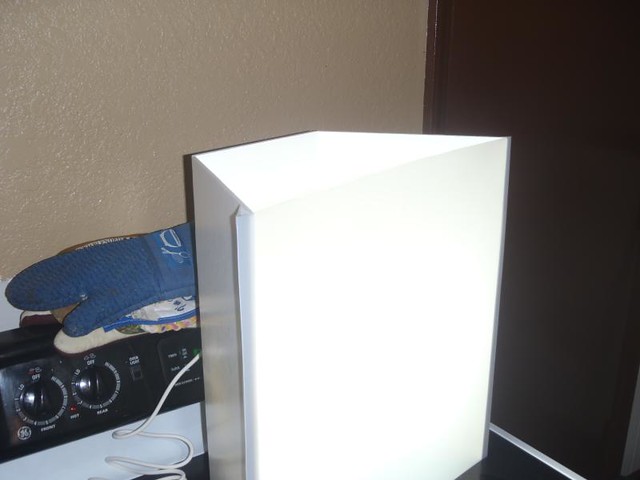
Screw in the twin socket adapter, and then screw the two bulbs into the adapter.
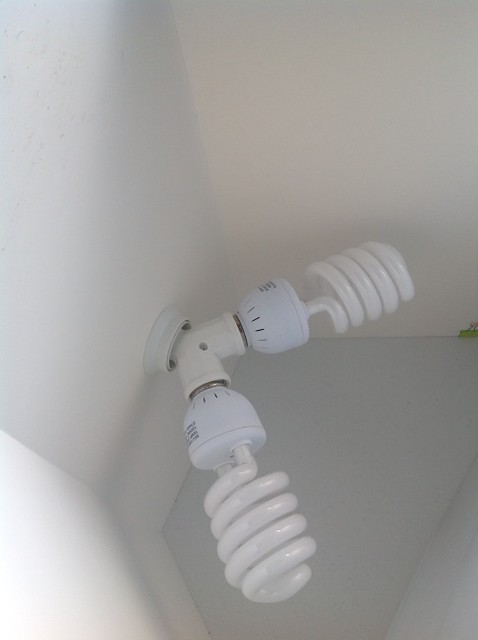
Looking good!
If you want to you could at this point add a bottom to the lights like Mawoca did in his tutorial. I haven’t found them to be unstable at all so I have left it this way with no problems. If you were to add a bottom the edge needs to end at least 1/2″ inside the panels so that you can still clip the plastic onto the panels.
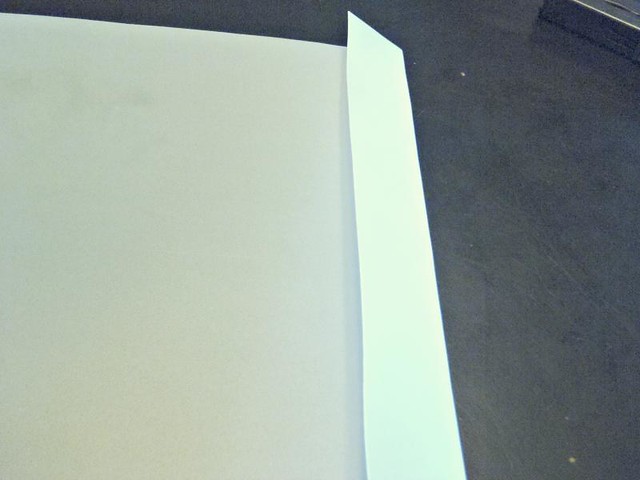
Next cut the Inlay Mat in half and cut it down to 22 inches high. Then we are going to make a flap on each side to allow the plastic to wrap around the foam board. This is where we will secure it to the board with the clips.
Using the square measure out 1 1/2 inches on each side with your square and draw the line onto the plastic mat. Carefully follow the line and fold the plastic firmly down. Once you have given it a once over by hand use the butter knife to press the seam down to make a nice crisp line.
Attach the plastic over the front of the light:
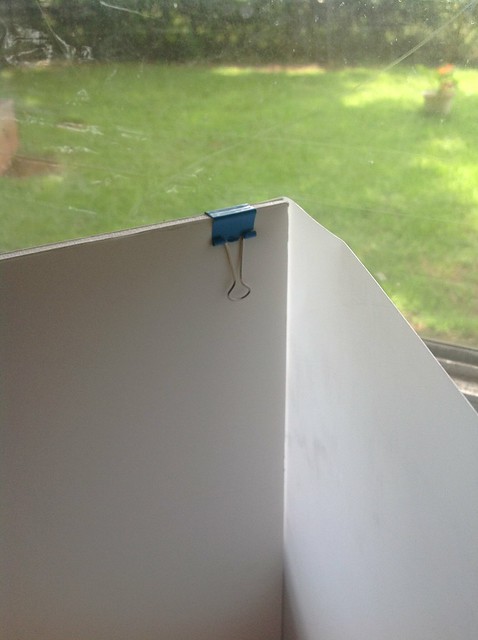
Then taking your binder clips attach the top of the plastic to the poster board sides and drop the clips down flush.
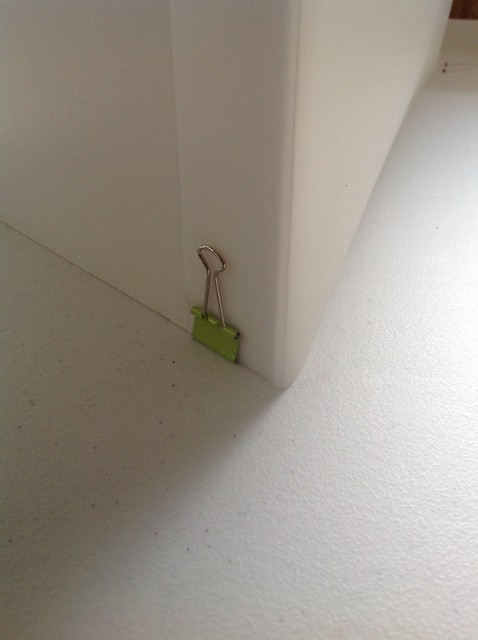
Clip the bottom edges together and flip the clips up so that the light will sit flush on the counter.
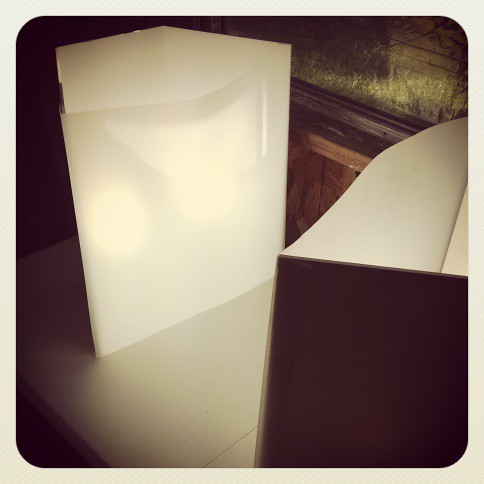
Finally plug them in and admire your handy work!
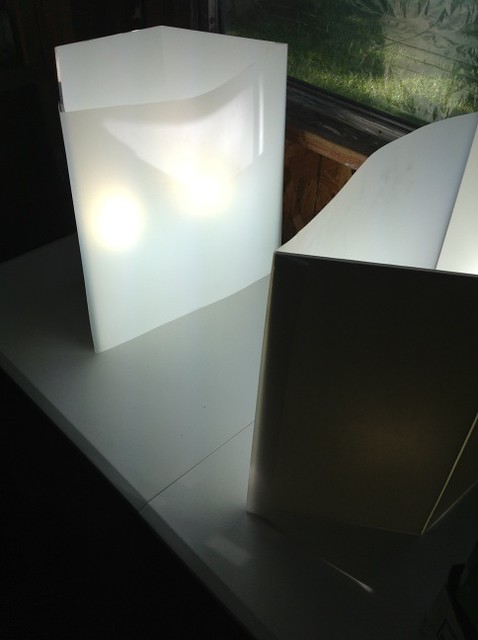
I am so pleased with how easy these were to make and the difference in our photos has been amazing!
These were what our images had been looking like before at night:
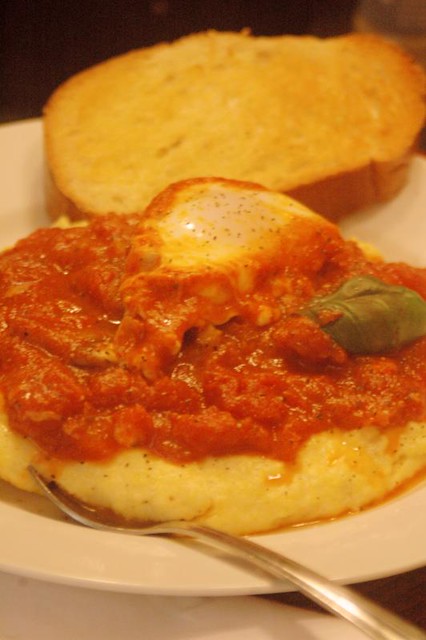
And this is what they look like now!

With the help of these lights, our new 50mm lens and the Tasty Food Photography eBook we have been able to produce some really great photos! We even got our first photo accepted on TasteSpotting!
So if you are looking for a way to achieve awesome photos in subpar light but don’t want to shell out $250 I highly recommend you give these a try! We have been so happy with the results!
This is a great idea. The lowel light is out of stock on amazon so looks like I have a weekend project now haha. It also doesnt hurt that I can build two of these for cheaper than the price of one of those lights.
Thanks for sharing! Curious if you still use this or if you’ve upgraded since this blog post? 🙂
I have upgraded to some lights on stands since we own a studio now but for a small home setup this or buying the lowel ego lights is still what I recommend. It’s a great light setup and quite compact.
Hope that helps!
xoxo
Dani
Thanks for the tutorial! It inspired me to create two of my own for $40. http://www.thecitybee.com/2015/06/two-diy-ego-lights-for-40/ I used a mix of your tutorial and another blog’s!
Great minds think alike! I have Lindsay’s Tasty Food Photography books and I am still learning the ins and outs of my camera. I just finished Food Blogging for Dummies, which was really good – but this is my 10th (I think) website but its my 5th that is ‘living’ so I skipped over all the ‘build your website’ parts. I just purchased Plate to Pixel and plan to start reading it next. I’m slowing getting my “food studio” set up. Kelly, who wrote the dummies guide and who writes over at JustATaste.com has a lot of frugal tips much like the folks at PinchOfYum.com. Your ideas are pretty similar and I want to thank you for sharing them! I run into the problem – especially here in MI – where my daylight and I tend to run on different schedules! lol
I hear ya! Yesterday was the first time shooting in daylight for me in a long time!
I am so impressed at how these turned out Dani. The proof is definitely in the picture! Excited to see all the new pictures you will be rolling out of your farm and kitchen…
Thanks Mom! We are excited to keep working with them. It’s made a big difference!