Dani’s Take:
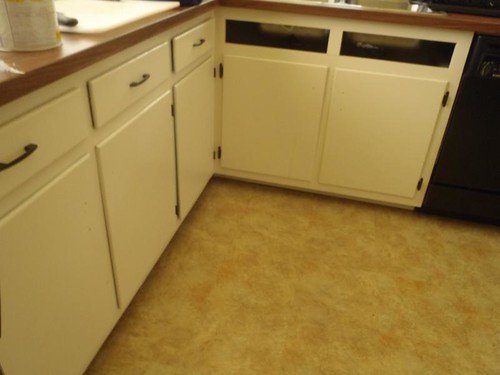
A few weeks ago after we grew weary of pulling Noah out of the kitchen cabinets repeatedly, Kevin saved my sanity by attaching the cabinet doors. It took a bit of coaxing on my part to get him to tackle it and once he got into it I started realizing why he had been stalling.

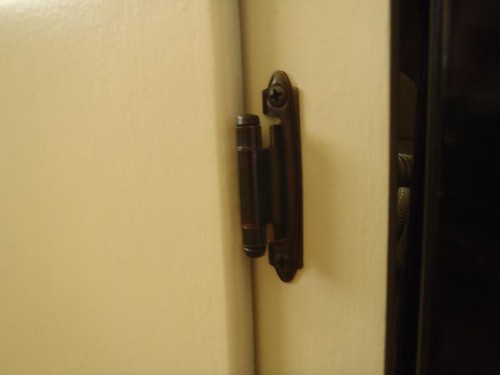
Turns out hanging cabinet doors is trickier than it looks. Rehanging them is easier if you have the exact same hardware and have marked each door (which I carefully did and then forgot to remark them after the paint dried–before we picked them up from their pretty little orderly setup- grrr). We had purchased new hinges for these cabinets though because the old ones were so old and were starting to fall apart. Which means that the holes were in slightly different spots than the original ones.
It was a flustering evening….something else had come up in the day that was on Kevin’s mind and we just weren’t getting into our groove at all. As such I spent most of the evening cleaning and left him to workout his own salvation frustrations. I hope it is encouraging to all that read our little journal here that we are totally human and actually do mess up things and cook dishes that totally flop, and fight and have rooms that are ripped apart. Because we do.
Kevin’s Take:
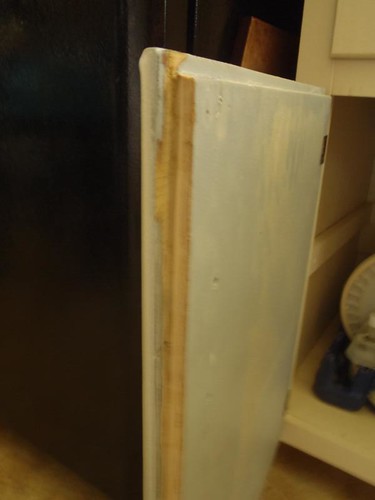
Hanging the cabinet doors turned out to be a bit harder than I had anticipated. Our cabinet doors have a router edge all around the inside of each door so that when they are closed, the bulk of the door fits into the cabinet opening and the face of the door has a minimized profile. See what I mean?
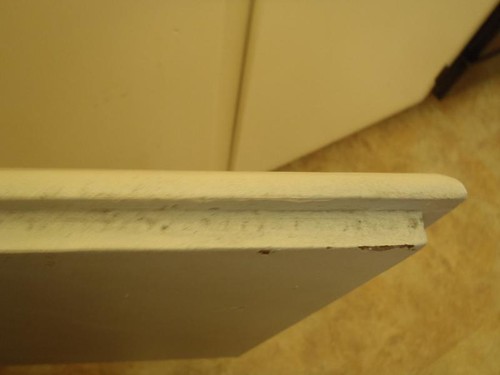
I have not worked with cabinets much, so I can not say how common inset doors are, but I found it made for most of the trouble I encountered. That and the fact that each hing is spring loaded, and when they do not have the weight of a door, and the benefit of screws holding them flush against the cabinet frame, they tend to turn inward just bit. Combined with the inset door, this caused all kinds of trouble. I had to line the door up perfectly level, making sure that the inset part of the door fit perfectly into the opening of the cabinet, and then press hard to flatten the spring loaded hinge against the cabinet frame.
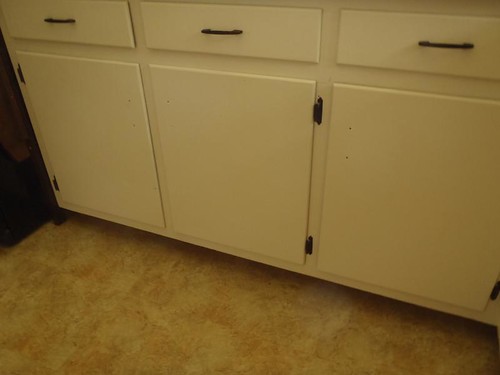
Once you have the door in place its a simple process of holding the door perfectly still while drilling pilot hols for the hing screws and then changing out to a Philips-head driver so that you can finally install the door. This process is better done with two people, but I was so frustrated with the whole process after the first door I attempted that Dani didn’t want to be in the same room as me, so I used my shoulders, my feet, and my head to make up for the extra hands I was missing.

- A level long enough to span across to cabinet door tops
- A cordless drill
- A pilot drill bit that is smaller than the diameter of the hing screws you will be using
- A screw driver bit that fits your screws
- And communication skills developed enough to keep your second set of hands around…

I am having the same struggles with my cabinet doors. Same kind of doors. Painted and trying to mount with new self closing hinges. I ended up grinding down some washers to use as shims in the spring loaded hinges to hold them open to flat while I mark the holes. Spent a whole evening on it and now have 4 doors up. 2 that close and 2 that don’t. Frustrating.
It was a frustrating project for sure Nate. We’ve been considering using mounts like these: http://www.homedepot.com/p/Liberty-35-mm-110-Degree-Full-Overlay-Soft-Close-Hinge-1-Pair-H32636C-NP-CP/206054275
for our next projects. Similar to the ones IKEA uses which we have had good success leveling for the most part.
Well spoken by both of you. Interesting. Seems like you both are learning lots about construction and each other! The cabinets look great from my view!