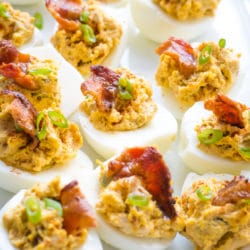
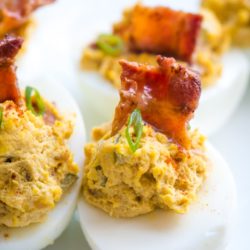
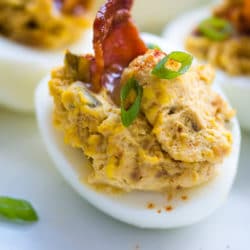
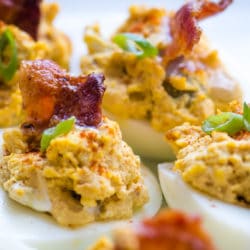
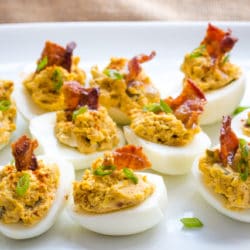
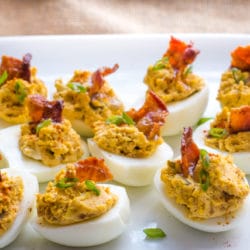
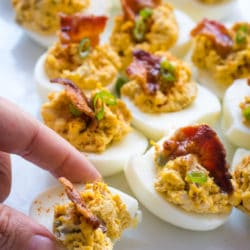
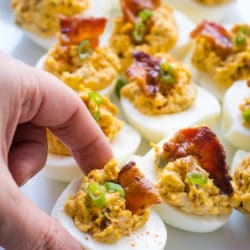
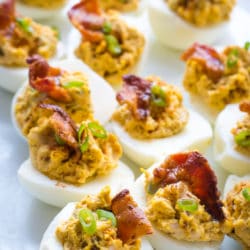
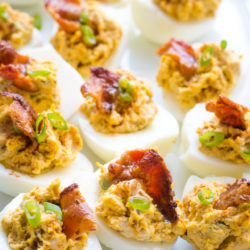
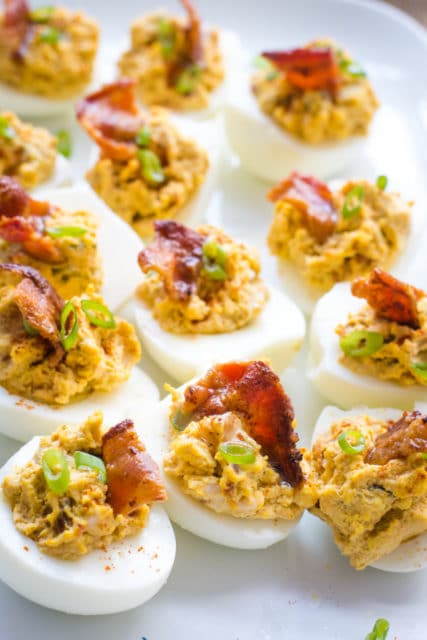
Step by step instructions for perfect easy to peel hard boiled eggs that make the best bacon deviled eggs! Creamy egg, salty crunchy dill pickles and crispy bacon make these a potluck staple!
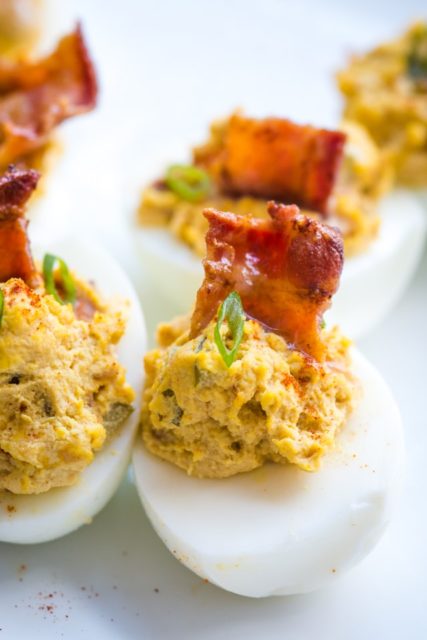
I don’t mean to brag, but these are hands down the best bacon deviled eggs out there. Does anyone else have trouble not just popping the whole Deviled Egg into their mouth in one bite? I mean technically it’s only half an egg…
Deviled Eggs may be one of the most important side dishes ever when it comes to the holidays, and entertaining in general. Someone always brings them and normally they are gone before dinner is even served.
So the next time you have to sign up for bringing a dish to the family get together, try and beat Aunt Gertrude to the punch, and tell everyone you are bringing the Deviled Eggs this year.
Why are Deviled eggs called Deviled eggs?
According to the the information on Wikipedia “the term “deviled”, in reference to food, was in use in the 18th century, with the first known print reference appearing in 1786. In the 19th century, it came to be used most often with spicy or zesty food, including eggs prepared with mustard, pepper or other ingredients stuffed in the yolk cavity.”
I mean who else likes hot and spicy foods as much as the Devil himself? And me maybe?
It’s funny, I always thought it had to do with the way everything was sort of whipped together. I’m not sure where I got that idea now. Based on the information above though, true Deviled eggs should be kind of spicy.
Either way, it’s pretty fun to have a food named after the Devil to infiltrate so many innocent holidays and family gatherings with. No wonder the name has stuck however inaccurate the reference may be to any given recipe.
If after you have read this, you no longer want to call them Deviled Eggs, you can also use the term Salad Eggs, Dressed Eggs, or Stuffed Eggs. Some people apparently even call them Angel Eggs. Some people apparently even call them Angel Eggs but that’s just wrong.
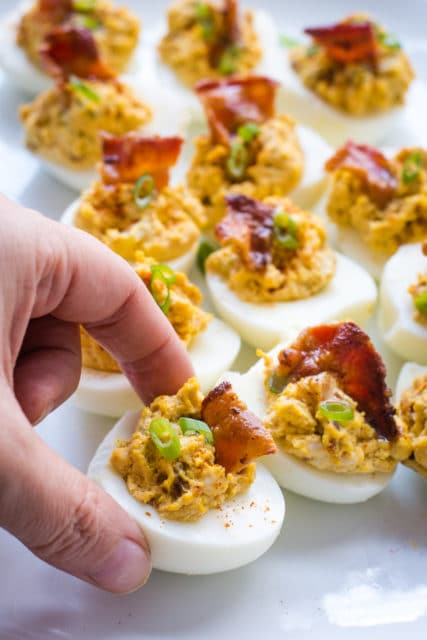
Ingredients Needed For Perfect Deviled Eggs
- Eggs: You’ll want perfect hard boiled eggs for this recipe! If you are using the classic pan method look for eggs that are older for best results. If you are using the Instant Pot method, this is less important.
- Mayonnaise: Real full fat mayonnaise. Don’t use reduced fat or god forbid Miracle Whip here or grandma will roll over in her grave and smack you.
- Mustard: Classic yellow mustard is the default but a bit of spicy mustard here is totally appropriate historically if you are the spicy lover.
- Dill Pickles: Chop them finely. You don’t want giant chunks of pickle ever. Omit or mince down into a paste if you plan to pipe the filling onto your eggs with a pastry bag.
- Dill Pickle Juice: Salty vinegar infused with pickles. It’s necessary to add the acid component to balance this so don’t skip it.
- Seasonings: garlic powder, salt, pepper and of course a sprinkle of paprika makes this classic recipe pop!
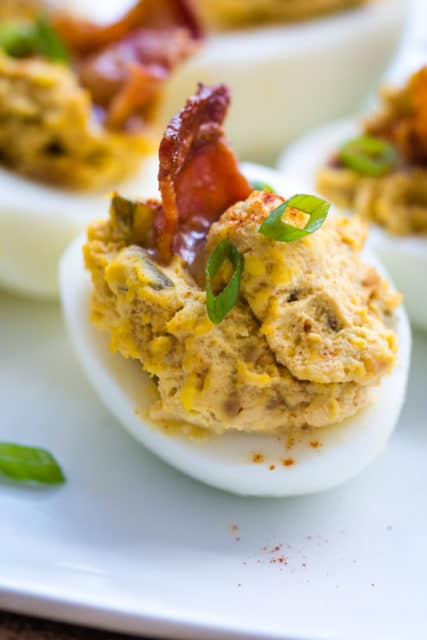
- Bacon: Real crispy bacon crumbled up. Toss in a bit of warmed bacon grease if you really want to go all out. Top just before serving! Soggy cold bacon is no good. Always top with fresh bacon.
Step By Step Video Tutorial
<iframe width="560" height="315" src="https://www.youtube.com/embed/-f1y3I2_skc" title="YouTube video player" frameborder="0" allow="accelerometer; autoplay; clipboard-write; encrypted-media; gyroscope; picture-in-picture" allowfullscreen></iframe>How to make perfect hard-boiled eggs that are easy to peel.
I am going to help you wade through some of the better-known tips for making the perfect hard-boiled egg.
Maybe the two most common issues with cooking presentable hard-boiled eggs are the unappetizing appearance of the dark discoloration that sometimes appears around the yolk, and difficult shelling that leads to those ragged whites.
The solution to the first problem, the gray-green ring around the center of the egg, is an easy one to address. That appears because the egg was cooked too long, and some people say it also appears if the boiled eggs sit in the fridge too long without removing the yolk.
Our recommended process will help resolve this issues by creating the most accurate cooking temperature and peeling immediately.
What about the difficult shell removal problem?
There are a number of tips that people swear by. We tested many and consulted many articles to find the best intel for you. It turns out that there is some fact behind some of these tips, but others may be based on lies from the Devil himself.
These tips include consideration for the age of the eggs themselves, adding baking soda to the boiling water, adding vinegar to the boiling water, and adding salt to the boiling water.
Let’s take a closer look at each of these tips.
DO OLDER EGGS MAKE BETTER HARD BOILED EGGS?
Does the age of the egg make any difference for making the perfect hard-boiled egg? YES!
It turns out this is true. The fresher the egg, the more difficult it will be to peel. This occurs because there is an increase in pH over the lifespan of the egg. The higher the pH gets, the easier they are to peel.
Will allowing the intended hard-boiled eggs to age in your refrigerator before actually boiling them guarantee a better peeling result? I’ve seen it suggested that you let the age of the egg for up to ten days before boiling them.
While there is some truth to this idea, there is no guarantee that you will have aged the eggs long enough to avoid the peeling issue. The big takeaway is that you shouldn’t use farm fresh eggs for hard boiling if you have a choice.
Eggs from the store can already be as much as two months old before you take them off the shelf. If you are after older eggs, the best thing to do is learn to understand the codes and best buy dates on the side of the carton. For more information on this, read this very informative article!
You can also help determine the age of the eggs you have by placing them in a bowl of water. Fresh eggs will sink to the bottom. Older eggs will float on one end. Eggs that are too old will float to the surface.
DOES ADDING BAKING SODA TO THE BOILING WATER DO ANYTHING TO HELP A HARD-BOILED EGG LET GO OF ITS SHELL EASIER?
The theory is that by adding baking soda, you can change the pH of the internal egg. It turns out that the results from doing this are inconclusive at best. Our tests did not show that they were easier to peel.
DOES ADDING VINEGAR TO THE BOILING WATER MAKE IT EASIER TO PEEL A HARD-BOILED EGG?
The scientific explanation for this activity is that the vinegar addition brakes down the calcium carbonate that the eggshell is made off. Effectively making the shell thinner.
As with adding baking soda, the evidence that this helps at all is inconclusive, but it feels like it helps.
I always drop in a tablespoon of vinegar in my pan out of habit but the actual science of it hasn’t necessarily shown it to be true. For more information on adding baking soda and or vinegar to the water you are boiling your eggs in, read this very helpful article.
DOES ADDING SALT TO THE BOILING WATER DO ANYTHING TO IMPROVE THE PEELING PROCESS OF A HARD-BOILED EGG?
It turns out that there may be some truth to this one! Salt actually increases the boiling point of water. This means that the water can reach a higher temperature than the 212 degrees or so that water normally boils at depending on what the altitude is where you live.
It is a fact that in order to have a chance of making the perfect hard-boiled egg, you need to ensure that your water reaches a full boil. Maximum heat. So adding salt can help you do this. For more information on adding salt to the water, read this fun little article.
SHOULD I ADD THE EGGS AT THE START OR WHEN THE WATER IS ALREADY BOILING?
I used to be a major advocate for the cold water process. It’s easy to do and fairly brainless, as well as being recommended by top chefs. But it’s not as accurate as the hot water method. This is because each pan and stove is different so it takes a varying amount of time to come to a boil.
To eliminate this, boil your water first. Then turn off the heat and use a slotted spoon to gently lower the eggs into the pan. Be careful not to burn yourself!
Return to heat and put on a low simmer for the cooking time. Keep in mind that if your eggs are larger or smaller than a standard large egg you will need to adjust your timing.
CAN I REFRIGERATE MY EGGS BEFORE PEELING?
Yes! Hot eggs don’t peel well. You need to either chill them down fully in an ice bath or refrigerate the eggs. The cooling process causes the egg to pull away from the membrane as it shrinks slightly and causes the membrane to become firmer, making it easier to peel!
CAN YOU MAKE DEVILED EGGS THE DAY BEFORE?
You can make deviled eggs up to 3 days in advance. The key is to store the whites and egg yolk filing separately. Store the egg white halves in a well-sealed container and keep the egg yolk filling sealed in a resealable plastic bag with all the air squeezed out of it.
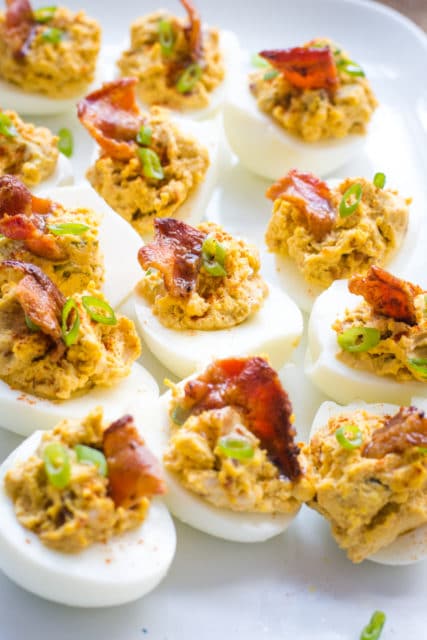
When you are ready to serve them (or a few hours ahead of time), top the whites with the filling after giving it a good stir and top with freshly cooked bacon and thinly sliced green onions.
The longer the bacon sits the soggier and chewier it gets so fresh is best when it comes to the garnishes!
More Holiday Recipes
Creamy Stovetop Green Beans Recipe
Slow Cooker Mashed Potatoes Recipe
Amazing Bacon Deviled Eggs Recipe
Ingredients
- 12 large eggs
- 3 tablespoons mayonnaise
- 1 tablespoon yellow mustard
- ¼ teaspoon pepper
- ½ teaspoon salt
- ½ teaspoon paprika
- ¼-½ teaspoon garlic powder
- 1 tablespoon pickle juice
- 1 large dill pickle, finely diced
- 4 pieces cooked bacon, roughly chopped
- Optional ½ -1 tsp bacon grease
Instructions
- Fill a medium sized saucepan with enough hot water to fully submerge the eggs. Ensure the pan is large enough for eggs to not crowd each other. Add salt and vinegar. Do not add the eggs!
- Bring to a rolling boil. Then remove from heat. Slowly lower eggs into the pot with a slotted spoon, being careful not to crack them.
- Bring to a low simmer and cook 13 minutes.
- Remove from heat and immediately plunge into a large bowl of ice water. Allow them to cool completely (at least 15 minutes).
- While eggs cool, mix together mayonnaise, mustard, pepper, salt, garlic powder, pickle juice, and pickles together in a bowl.
- Peel eggs and cut in half with a sharp knife.
- Separate egg yolks to a medium bowl and egg whites to a serving platter.
- Mash the yolks into a fine crumble using a fork. Add to the mayonnaise mixture.
- Evenly disperse heaping spoonfuls of the yolk mixture into the egg whites.
- Sprinkle with paprika and garnish with bacon and green onions.
- Serve immediately!
