A while ago you may have heard I convinced Kevin to let me have a dishwasher in our new kitchen…..with a full on $25 craigslist score.
What I may have neglected to mention is that there was a cabinet where said dishwasher was supposed to go. A teensy weensy technicality I assured Kevin….we’ll just cut it out and put up an end panel. It’ll be a cinch.
Grin.
I am an eternal optimist what can I say?
Long story short my hubby loves me to pieces and so he lets me do crazy things like hatching duck eggs in a remodel, and decide to try to have a baby when we live in an Airstream trailer, and move into a crazy old house when we’re expecting a baby…..and install a dishwasher in said house.
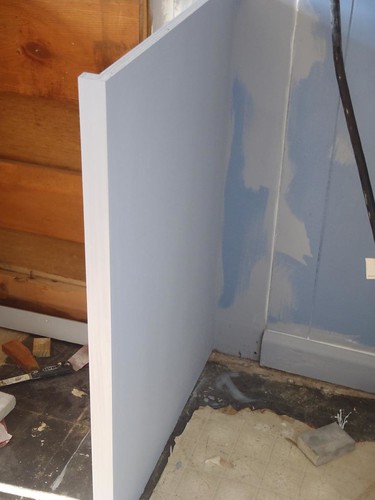
So since the dishwasher was going to go between the sink and the stove it landed at the end of line of cabinets which means we needed a dishwasher end panel.
They are like $40+ at Home Depot and they weren’t exactly the right size and were already unfinished so we decided to make our own.
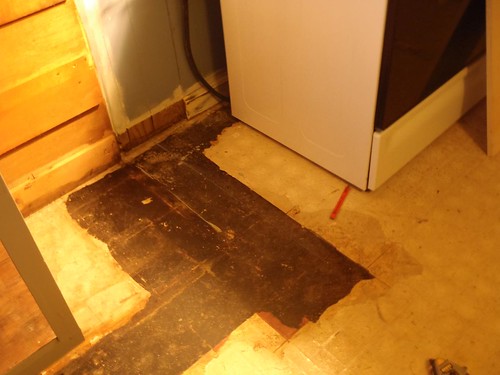
We jigsawed the countertop lip off and then carefully cut away the countertop.
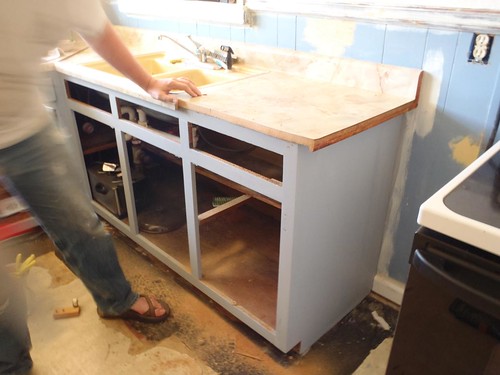


Removed the current end of the cabinet and cut out the supporting box underneath.

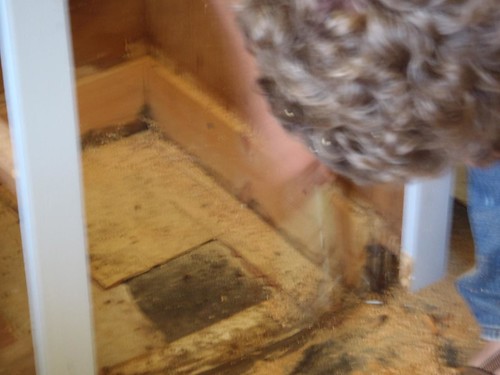
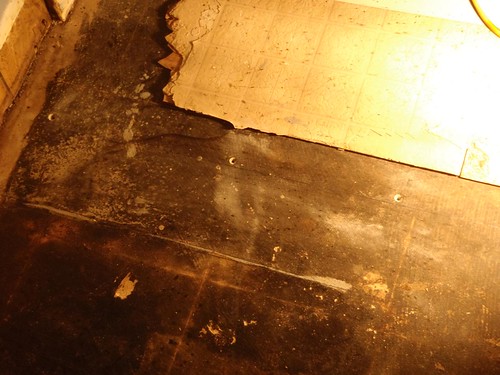
And vacuumed and cleaned the ground as best we could.
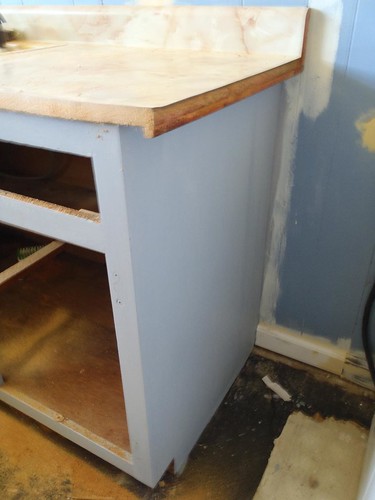
We decided that rather than using L brackets we would create a support structure for the panel.
This enabled us to square everything up perfectly without the added bulk and weight of the end panel itself.
To do this we measured and squared everything 3 times, then drilled through the wooden brace into the concrete in three places to mark our place and then pre-drilled the holes with a hammer drill and concrete drill bit. FYI 2 people and ear protection makes this a more enjoyable experience.
We applied wood glue to the floor and wood and drilled into place with Tap Con Screws

We then attached a strip of wood up the wall in the same fashion to make a giant L. We used anchor screws to secure it to the paneling and woodglue on both sides again.
The end panel itself was easy to put together. We measured before we went to Home Depot and had them cut us the plywood with their giant saws (totally free service!) We then just cut the face piece to size and used a finish nail gun and wood glue to attach the face piece to the panel. Finally we used the finish gun to easily attach the panel to the support brace.

A little wood putty and a nice even sanding and she was ready to be primed and painted!
You can see the progress of the painting of the cabinets here.
Here’s a video we made for you too!


