
So lets be honest, this project was spurred because I am tired of writing and rewriting my to do lists everyday and then misplacing them. And I was tired of my darling husband reminding me of the same things everyday and then coming home each day asking me “what did you do today?”
I also had a hard time remembering when to do or when I did some of the monthly or quarterly tasks in our home and so they often just didn’t get done.
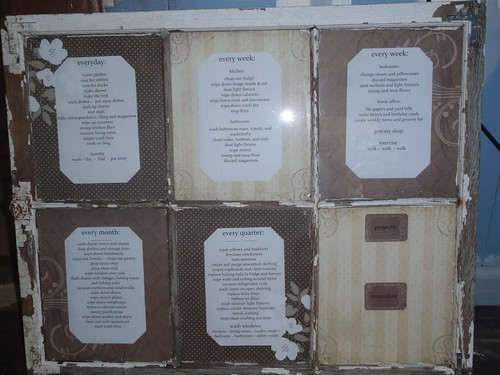
After obscene amounts of time on Pinterest this is my beautiful solution!
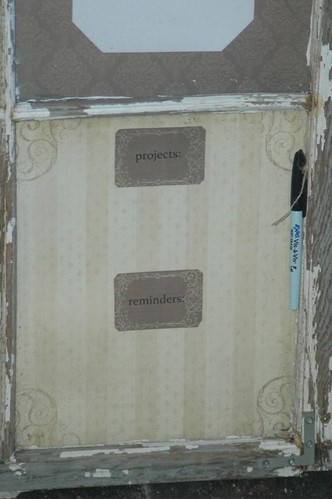
Use the wet erase pen attached (so it doesn’t get misplaced) to mark off as you go and quickly erase when you need to repeat. There is also an area for projects and reminders!
I may also attach key rings or something else on the bottom board…..I’m not sure yet.
Oh and I if you really love this and don’t want to make it yourself I am selling them custom on Etsy HERE
You will need:
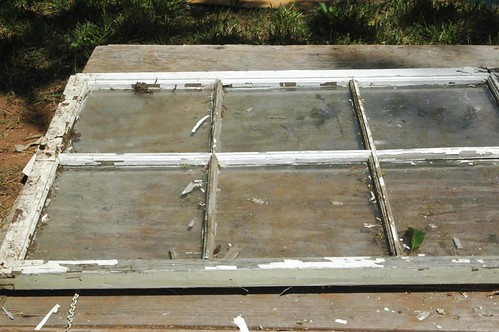
An old 6 pane window
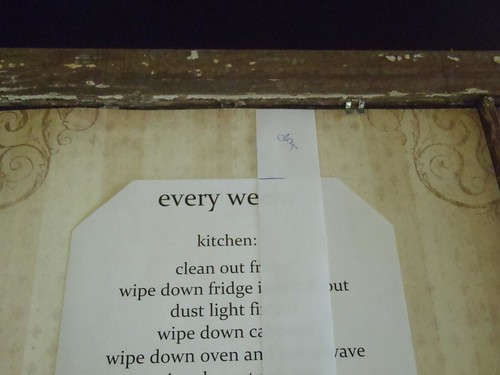
Daily, weekly, monthly, and quarterly chore charts
(want my editable download? sign up for email updates for access to this and all future downloads HERE)
Twine
Wet Erase Pen (dry erase could work too)
Razor Blade
Wood Glue
L Brackets
Glazier Points
Scrapbooking Paper
L Ruler
Utility Knife
First things first….go out and find an old window
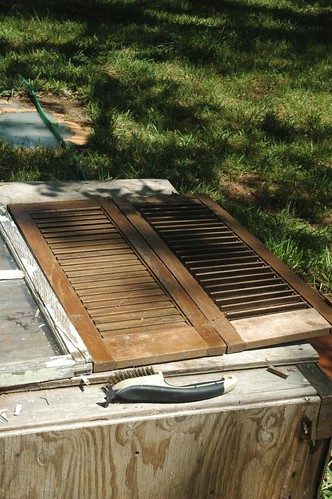
Dont turn down shutters if you happen to find them too:
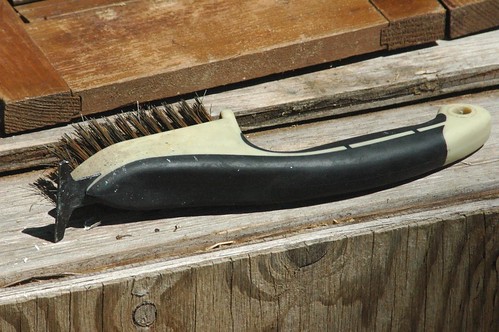
Grab a wire brush and remove all the loose paint and debris you can.
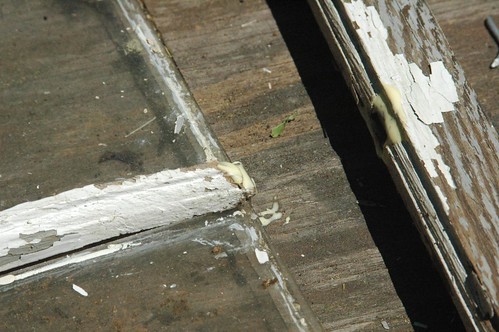
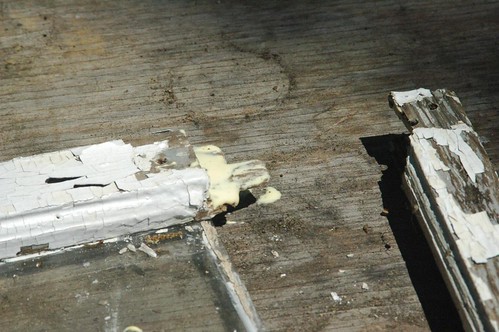
If your window is in poor condition like mine was grab some wood glue…
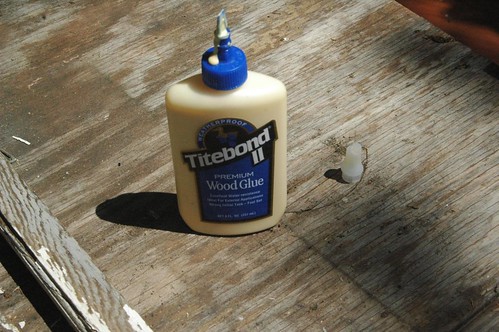
And glue it back together where necessary.

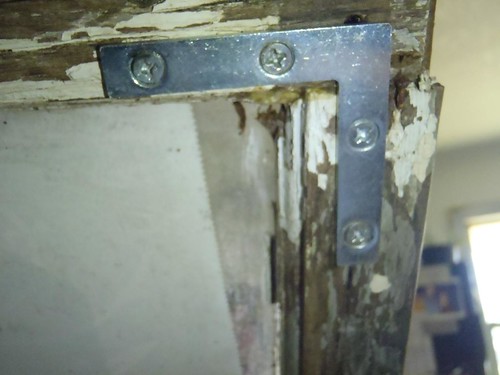
Corner braces work really well to hold them back together and mine had them on the front anyways so that’s where I placed the two missing ones. If yours doesn’t you could put them on the back if you don’t like the look.
Then use a razor and remove all the old glazing and crud off the back of the window panes. Vacuum thoroughly and clean as best you can with glass cleaner. Realize it won’t be perfect and accept that as part of its beauty.

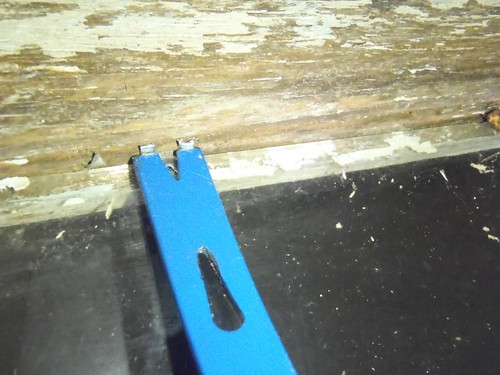
Take out your Glazier Points….
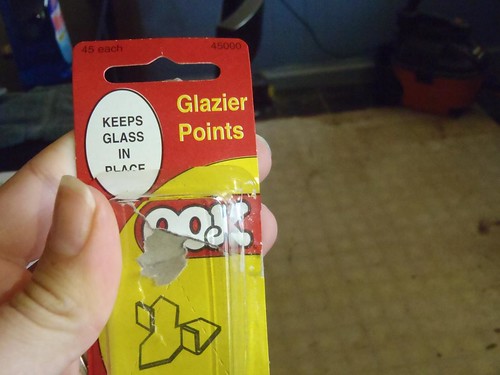
And insert them around each pane. I used 8 per pane.
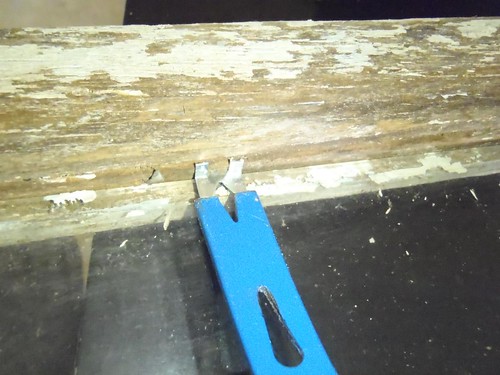
All you have to do is press them in but wiggling back and forth gently seemed to ease the process and kept the little tabs from bending too much.
Insert two hanger eye hooks in the top bar and loop wire through to hang.
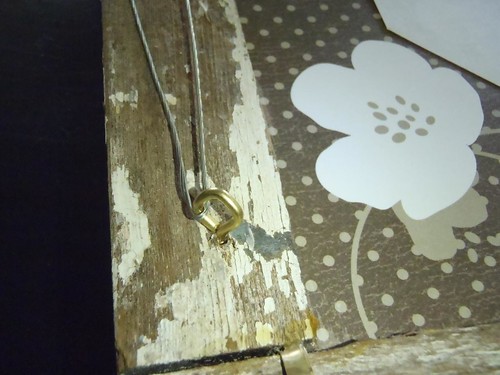
Like so…

Pick out the backgrounds you like for each pane. I laid them out and played with them for 10 minutes or so til I had the look I liked.

Cut the paper down to size for the backgrounds. You want it very close to the size as the glass panes, if you cut them too small the glazier points won’t hold them in and you will need a different solution to hold them in place.
I used our L ruler and a sharp utility knife with good success. I’m sure a paper cutter would have been easier but using what you’ve got is how it goes around here.

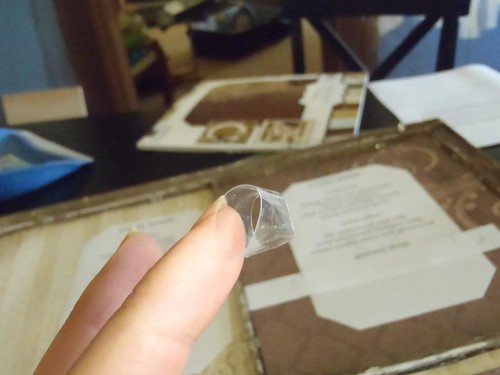
When you have everything cut and laid out to your liking you are ready to tape.
Roll a piece of tape like so, making sure there are no bubbles at all or they will show.
I measured a simple guide on some leftover scrap of paper to get the lists aligned properly.
Align top first….
Then wiggle over left or right as needed.

Lift the chore paper and press the tape roll onto the background
And smooth down the top page. Repeat on all panes.

Then flip the pages over (swapping sides if you want the design you laid out to show that way in the front), and carefully slide the papers under the glazier points. I had two that had to be trimmed slightly but this is a much better problem then having them too skinny.

Flip it over and squeal in delight!
Attach your wet erase pen with some twine so you don’t lose it you organized person you.
Pin away my friends!

