In a last minute somewhat rash decision making process I decided to turn our glass mosaic backsplash project upside down. Or rather sideways down. Err. Whatever. I flipped our backsplash tiles vertically last minute and am totally loving it.

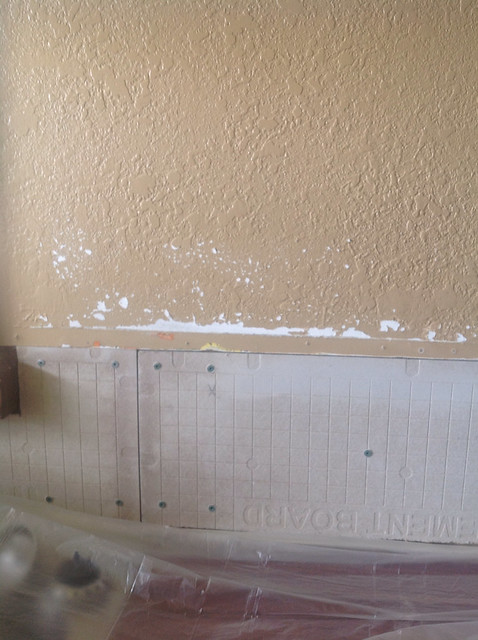
After removing the paneling, and converting a single outlet to a double outlet, Kevin tackled getting all the cement board installed. He used a scoring knife we picked up from Home Depot and our jigsaw to cut the board and we used the special green cement board screws to attach it. He discovered that by screwing it in once and then backing out and rescrewing 1-2x he was able to get the screws very flush to the board. Since it was so important for this step to be done as exact as possible it took several sessions to get through this part. But once he was finished I jumped in for my part.
I sanded down the rough seam of the drywall to the cement board and roughed up the paint to help with the adhesion of the thinset.
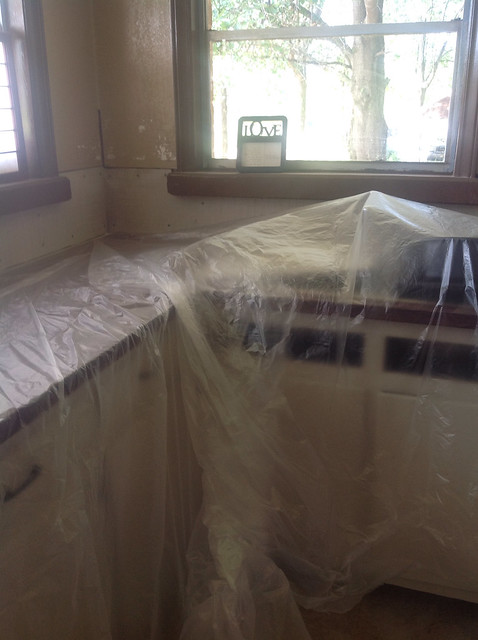
In hindsight I should have covered everything before starting my sanding but I didn’t. It was a quick reminder of how crazy drywall dust is and how it completely covers everything in a room with grit. After covering everything I cut out the weird plastic connector strip in the corner of the room up to where the tile will end.
And then got ready to tape and mud my seams. Mixing thinset was a new experience for me and I spent a ton of time trying to figure out exactly what the right ratio for the water to thinset mixture was online. I finally gave up and mixed to feel and discovered that it was really quite simple. Because I was going to be covering the belly seam and filling some gaps in more of a putty fashion I went with a bit thicker mixture than I used for the actual application of the tiles.
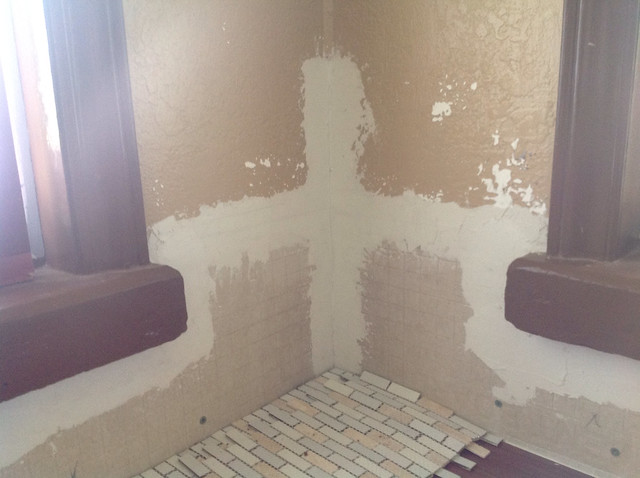
I mudded the seams first, being sure to shove as much thinset into the grooves as possible but leaving a relatively thin skim coat on the surface.
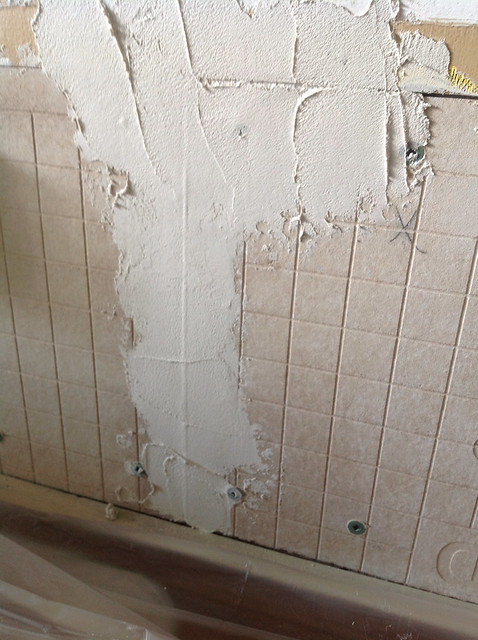
Then I applied the seam tape and pressed into the thinset. Then I covered the seam with more thinset and smoothed and smoothed and smoothed everything out.
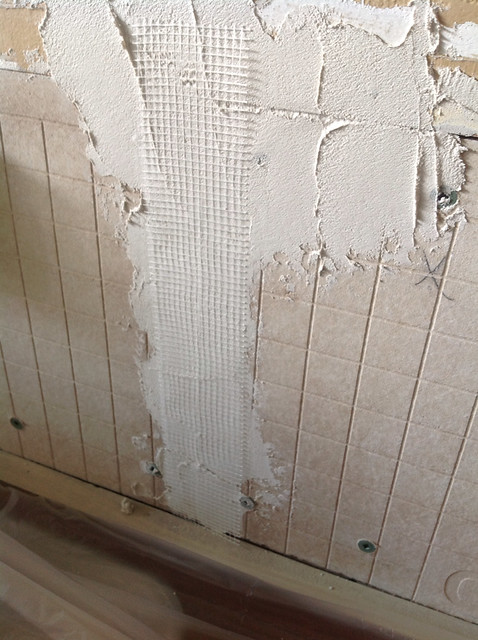
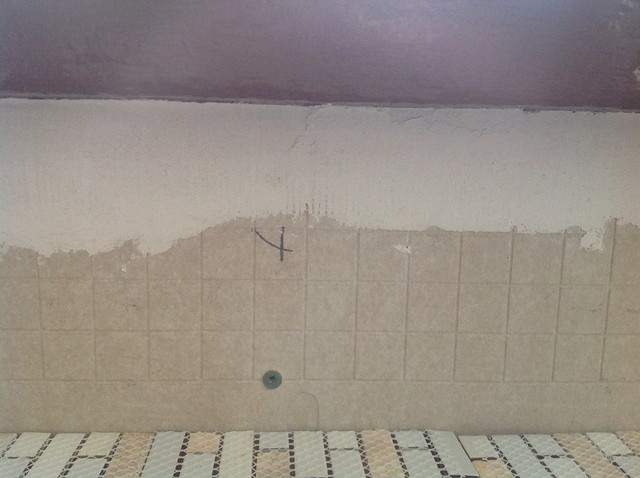
It doesn’t really look incredibly pretty when you are finished with this process but I tried not to spend hours making it “perfect” since I know its all getting covered up eventually. Smooth and level were my goals here.
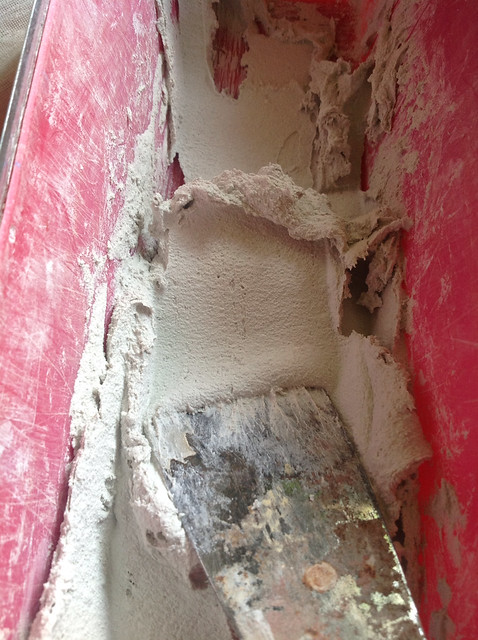
Under the windowsills was a gap that was left from the cement board being cut a smidge too short, but it was easily repaired by shoving the thinset in first (I found just using my fingers were easier than a putty knife in such small quarters), then taping and then smoothing everything out.
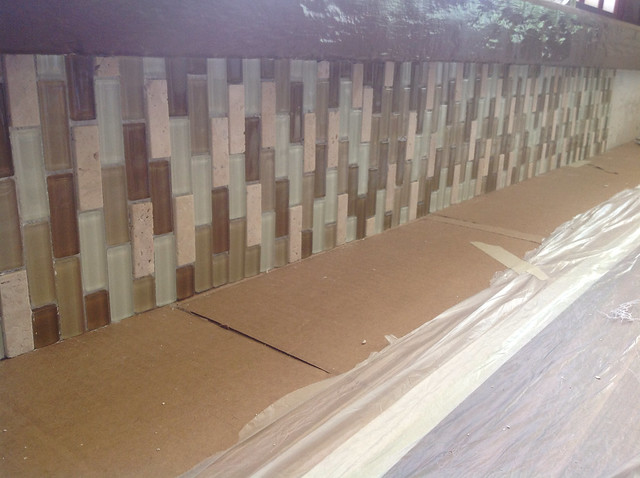
The next day I prepared the surface of the countertop for the tile by laying cardboard down along the seams and taping in place. This gives an even space on the bottom for the final grouted caulk line.
Then I laid out all the tiles and measured and cut them to size. Our windowsills are not perfectly level so it was important that each section be measured and cut for the exact location it would end up in. At this point I also removed any tiles from the sheets that were damaged.
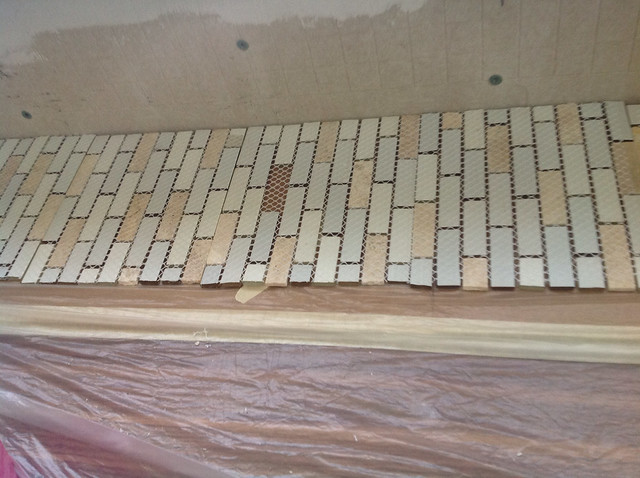
Our original layout was horizontal but we were so tight on getting the last tile in the amount of space that we had that we were going to have to use a 1/4 round strip under the windows to make it work. At that point I decided to throw caution to the wind and actually go vertical instead of my original horizontal layout. This resulted in being much more time consuming because of the number of cuts that were required and creating quite a bit more waste than horizontal would have but I absolutely love it. Not only is it different but it also enabled us to go completely up to the windowsill cleanly.
I mixed some slightly thinner thinset up and then applied it in small sections immediately followed by the tiles. Evenly pressing the tiles into the thinset is important as is cleaning out the cracks if too much squeezes up around the tiles. This was time consuming as I learned how much thinset was too much/too little. From what I learned you want the top 2/3rd’s of your grout line to be cleaned out to accept grout. I used a skewer and wet napkins to achieve this as well as getting the excess off the face of the tiles as soon as possible.
This stuff dries rock hard and it is very difficult to get off if you don’t catch it while it is wet. It will even setup under water so be sure that you clean your tools immediately instead of letting them “soak”….not that I know this from personal experience or anything….
I still have a few more sessions of effort to get it all up and then we are on to grouting!
I am so glad we went this way. It really is a fun mix up on a traditional look and I think it is going to look awesome on the other side of the countertop and the corners where the tile goes up a full 18 inches. What do you guys think??


Thanks, it’s quite informative
Where did you get your backsplash? I love the colors.
Home Depot! I love it too <3
What a fun new look…I LOVE IT!! I knew you would be great at getting your tile set 🙂 you are doing great job. Isn’t it insane how much prep work it takes to do any project well? But it is what can make the difference between it succeeding well or not. The tiles set this way remind of something…cant quite put my finger on it….a bambooish type look ??? What do you see?
Mom
Yeah I guess I didn’t think about it being bambooish but it definitely has that same kind of vertical vibe. I think it kind of plays off the paneling lines we have through the rest of the house and the bottom of the room in the kitchen too. I’m considering doing the fireplace vertical now too.