We have been loving our new Conex box storage center and because of it we FINALLY have our laundry room back!! Hallelujah sweet baby Jesus.
The laundry room is definitely not the prettiest thing you’ve ever seen….the walls are not finished….the windows don’t close all the way…the floor flexes under your feet (scary!)….oh and two of the beams that hold the thing up are horridly damaged from old termites.
But it’s a workspace and now that it is separated from our bedroom with the sliding glass door, it has the added benefit of being the only space in the house that Noah cannot access. With two little ones now, most of my cooking and photographing happens in short little bursts of time during naptime or after the boys are asleep. Leaving a full place setting on the kitchen table when your child can scale the table in 5 seconds flat was just not happening.
Combining that with the fact that the lighting in our kitchen is horrendous at night I knew I needed a dedicated safe corner to setup shop if my photos were going to improve.

So part of the motivation for getting the laundry room cleaned out was so we could setup a small space to store all my amassing photo supplies and my sewing stuff. This last week I finally got to start working on it!
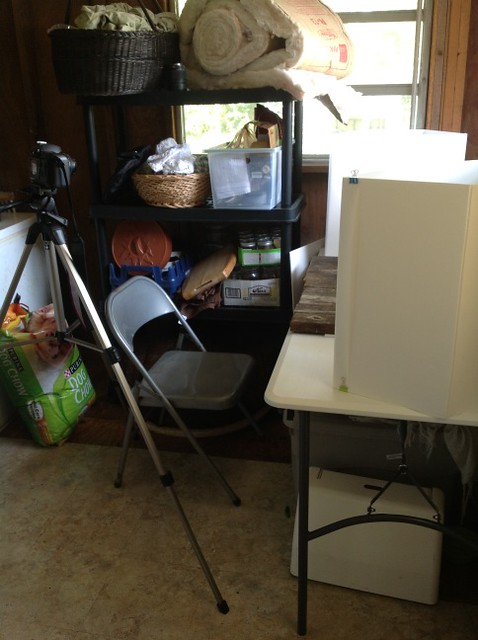
As you can see I am using of our greenhouse shelving units to hold my supplies. Long term this will have areas dedicated for dishes, utensils, linens and other props (and not area’s dedicated to stacks of canning jars, an oversized dog bed that I hate but can’t seem to part with, and a giant roll of insulation). Hey…..we are keeping it real folks.
Moving on….I picked up a basic 5 foot folding table to use as my base for my food photography setup. It folds in half so it can be stored if needed and will come in handy for entertaining.
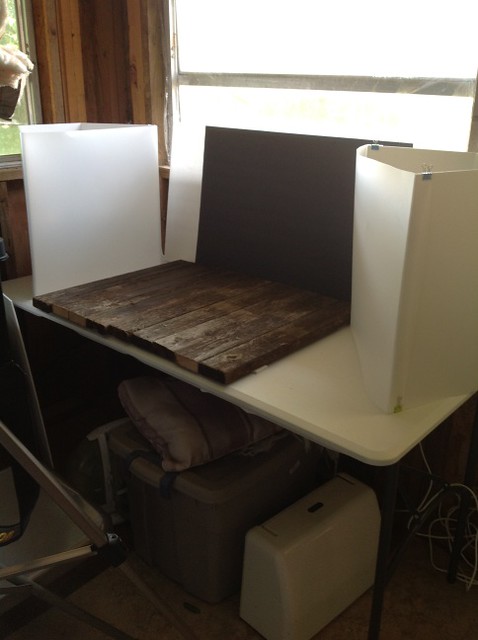
My basic food photography setup utilizes the large window for as much natural light as possible when I do manage to shoot during daylight hours. The two big white boxes are my new homemade version of EGO lights.

After months of reading about building my own DIY Ego photography lights I ordered all the supplies a few weeks ago. I got up the energy to put them together this week. I am pleased to report that they were very easy to put together, cost quite a bit less than half the cost of purchasing them, and are already making a huge difference in my most recent photos! I’ll have the full tutorial and links to the supplies I used here next week.
Update: You can check out our DIY Ego Light Tutorial now!
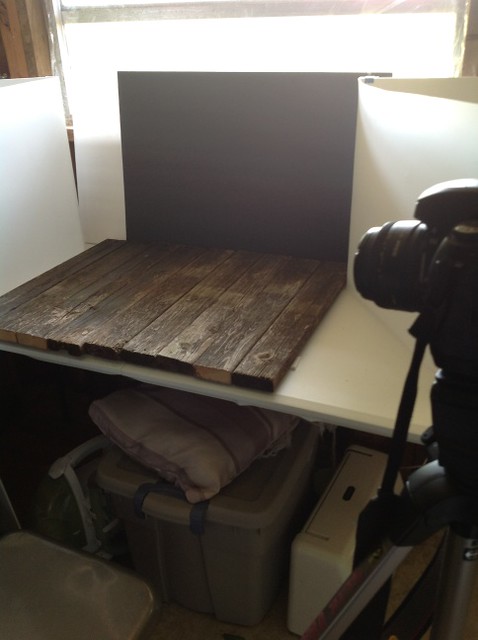

I have several white and black poster boards for bouncing light and as backgrounds. They are super lightweight and great for filling slight shadows. For bigger shadows and for more dramatic effects I use my 5 in 1 reflector which folds up nice and small when I’m not using it.
Every good food photgraphy setup I’ve seen has some kind of background boards that get rotated out. I was planning on making a few backdrop boards this week but was out in our backyard and realized that this old rotting bench:
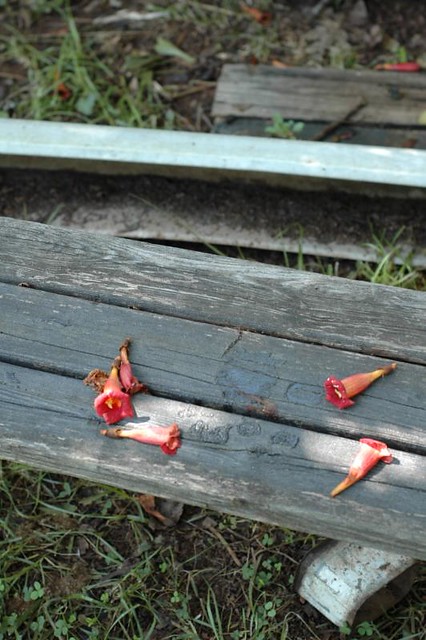
Just so happened to have enough salvageable boards to make a beautiful (and authentic) food board! And just like that I saved $20….gotta love that. I am quite pleased with the rustic look it is giving my photos:

I’ll be adding a few more boards to my collection to help mix up the textures over time.
The last two things that really make this setup work well is the folding chair….which I use to stand on for overhead shots and to sit in for sewing stuff. And my beautiful Slik tripod which has a great quick release so I can easily switch from hand held to tripod without loosing my precious minutes fussing with a tripod.

It’s a work in progress for sure but I am loving having a creative space to work in! I am looking forward to finishing my de-cluttering and getting some organizing containers going for props. I am also considering starting to shoot tethered to my computer so that will add another element to the mix. I’ll be sure to let you know how it goes!
Do you have a dedicated space for your photos? I’d love to hear about and see your photography setup!
Need more photography help? Check out our review on this fabulous e-Book on the subject!

Disclosure: We use affiliate links for many of the items on our blog. We only recommend products we use ourselves and love. Your purchases help to support this blog so we can continue to bring you more free content! Thank you!

great post. it is inspiring…
http://comfortandblissfullife.wordpress.com/
Thanks for sharing!
This is very helpful – thanks for sharing.
You are welcome Frances! Thanks for coming over 🙂
Dani
I really need to improve my food photography. It’s so refreshing to see a “real world” set up of how other bloggers do it.
Thanks for visiting Jen! Its was always nice for me to know food photos aren’t real life. Took me years to figure this out so Im happy to help. P.s. your photos are already quite lovely! Following yu now 🙂
This was really interesting! Just kitchen counter or dining room table here but I liked learning about this 🙂
That looks great – thank you for breaking it down. I really need more props and backgrounds. REALLY (!)
I love this and can't wait for Dani's tutorial on making her own lights!
Will be up this next week Erica so stay tuned!
~Dani