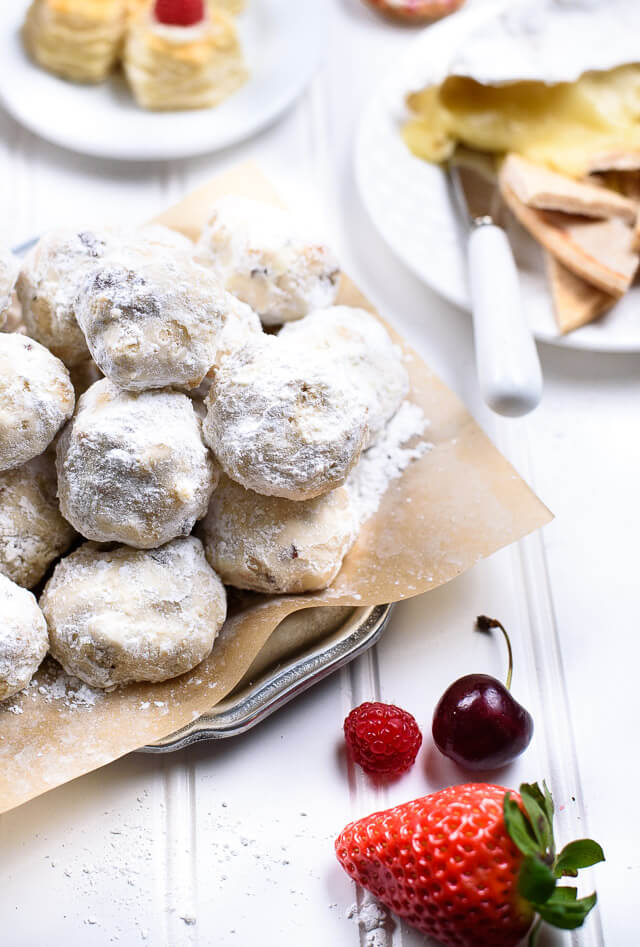
Our secret Russian Tea Cakes recipe is never dry. It’s always declared to be the best snowball cookie they have ever eaten!
Kevin’s favorite cookies are Russian tea cakes (aka the snowball cookie). As such I have heard endless requests for these cookies over the years.
The only issue…I hate them. Let’s make that hated them. They were always dry and chalky and basically the least like a delicious cookie and its attributes that I could imagine.
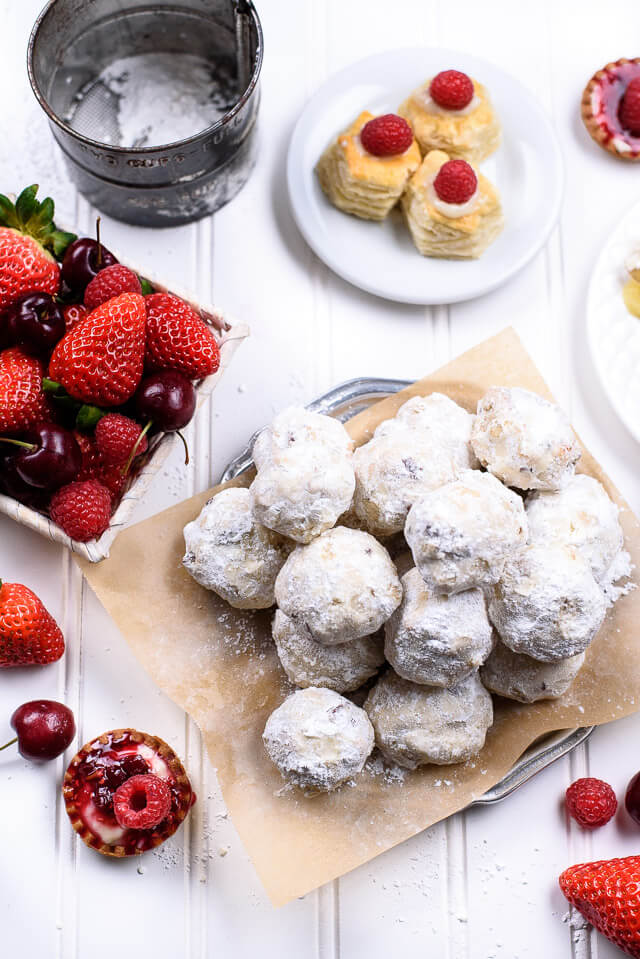
I let Holli loose to make these for him this Christmas season to help satisfy his requests. When I finally decided on a whim to taste one of them and I was blown away! And I thought to myself THIS is what a Russian tea cake should taste like. Delicious, buttery, and melt in your mouth.
These cookies have many names like Mexican Wedding Cakes, Italian Wedding Cakes, Swedish Tea Cakes, Austrian Kipferin, Spanish Polverones, Greek Kourabiedes, Pecan Sandies, and just plain Butterballs or Snowballs.
Pro Tip: Keep an eye on the baking time and if the cookies are dry you should back off the baking time on your next batch by a few minutes.
Can you freeze Russian Tea Cake cookies?
Yes, you can free them. They last about two months in the freezer. Always freeze them raw after you have rolled into balls but before you roll them in powdered sugar. I layer my cookie balls out on a piece of parchment paper then place them on a cookie sheet. Then I place them in the freezer for two hours or until firm. Once frozen remove from cookie sheet and add cookies to a gallon ziplock bag or tuber wear container.
When defrosting place each cookie on parchment paper spaced 1 inch away from the other cookies. This keeps the cookies from sweating and sticking together. Allow the cookies to reach room temperature. This process can take a few hours depending on your house tempter. If you choose to cook these cookies frozen you will want to add 1-3 more minutes to your bake time.
How to make Russian tea cakes?
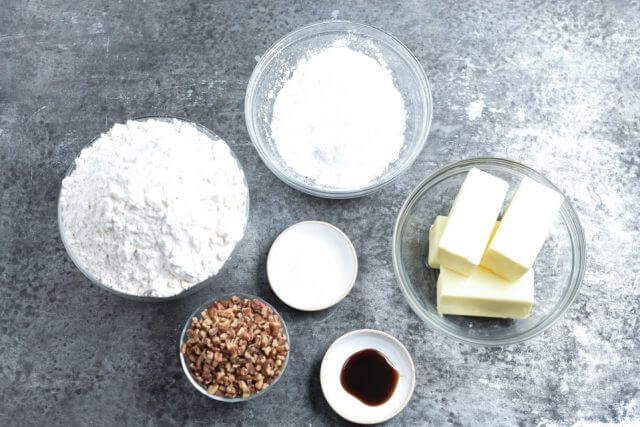
We started making these amazing Russian Tea Cake cookies by taking the melted butter and creaming it with the sugar.
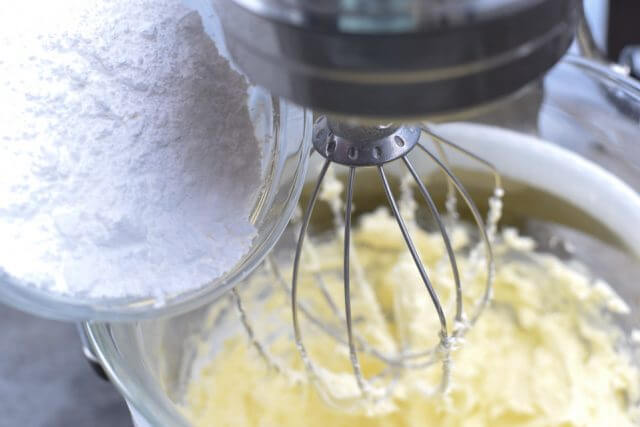
Grab the stand mixer and pour in the butter and powdered sugar and mix away.
Let’s just take a second to appreciate to beauty of stand mixers. I mean, I am definitely not doing this by hand!
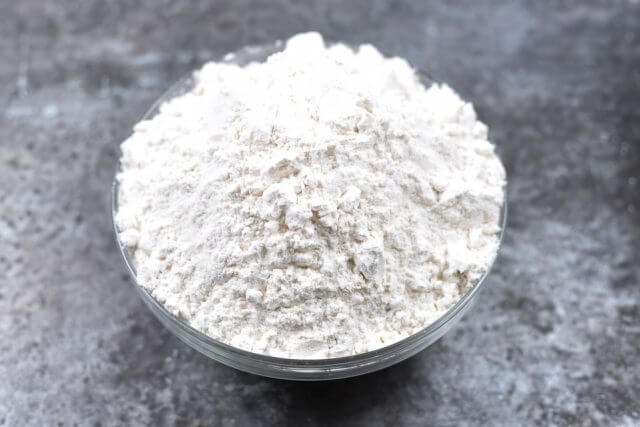
Then add the flour and mix well. Make sure all the flour is absorbed.
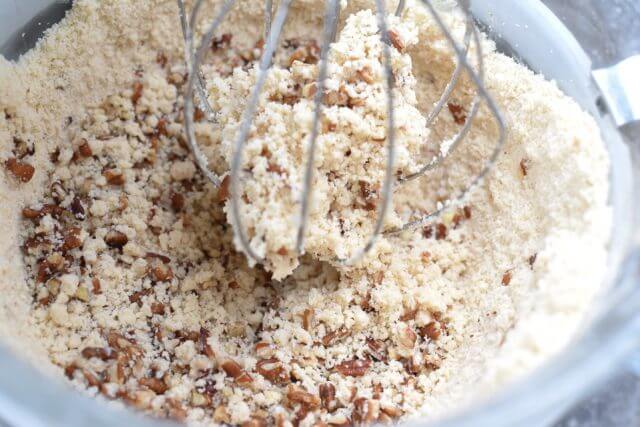
Add the finely chopped nuts and mix.
Now roll your dough into 1 inch balls, and place them 2 inches apart on an un-greased cookie sheet. Bake at 365 for 11 minutes or until they have plumped slightly.
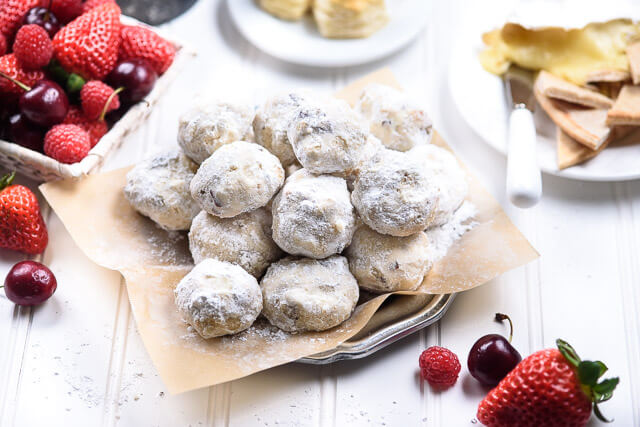
Remove cookies a place on a cooling rack. Once cool to the touch roll each cookie in confectioners sugar and enjoy!
2teaspoonsvanilla bean paste, can substitute vanilla extract
4 ½cupsall purpose flour
½teaspoonsalt
1cupfinely chopped walnuts or pecans , we prefer pecans
Topping Ideas:
1/2cuppowdered sugar
½cupmini chocolate chips
½cupcrushed peppermint
½cupshredded coconut
Instructions
Preheat your oven to 365°F (185°C).
In a mixer, cream together the softened butter and powdered sugar until the mixture is light and fluffy.
Add the vanilla bean paste (or extract) and mix until well combined.
Gradually add the flour and salt to the mixture, mixing just until the ingredients are incorporated.
Stir in the finely chopped nuts.
Roll the dough into 1-inch balls and place them on a cookie sheet, leaving a bit of space between each ball. You should be able to fit about 12 balls per sheet.
Bake for 8-11 minutes. The cookies will rise slightly when they’re done but should remain pale, not browned.
Transfer the cookies to a cooling rack. After about 5 minutes, while they’re still warm, roll each cookie in powdered sugar until fully coated.
For variety, you can also roll some of the cookies in crushed peppermint, shredded coconut, or mini chocolate chips.
Once cooled, store the cookies in an airtight container with parchment paper between layers. They will keep for up to a week.
Camp cooking just gotten taken to a whole new level. From family favorites to cocktails, The Stress Free Camping Cookbook has a recipe for your next trip or backyard fire!
Hi I'm Holli! My background is in baking and pastries. I love a good coffee, anytime of the day. I also love to tend my garden and explore the world with my husband and four growing daughters. I co-authored Stress Free Camping, a 120+ page cookbook on making epic food in the woods.
Going to give this recipe a try. I usually do clarified butter with powdered sugar add flower and pecans. Cook roll in powdered sugar. Easy, delicious. Been doing this way for ever! Looking forward to tasting your recipe this evening! Thank you!
Jennyb
I’m 1/2 Armenian and have always thought these were from the Ottoman Empire. I do have recipes in one of my Mid Eastern Cook Books, yet they are not called RTCakes! They are called, translated to English, Shortbread cookies! Interesting!
Will leave a comment later
My grandmother used to make similar cookies during the wintesr and I thank you very much for the recipe. Will try! Have a nice week !
wow awesome recipe